
There are several ways to do wire ribbon roses...and here is one of my methods.

Step One: Cut about 30 inches of wire ribbon. Any width ribbon will work, the wider the ribbon...the larger the rose. The photos are of wire ribbon that is about 1 3/4 inches wide.
Step Two: Remove the wire from one side of the ribbon.
Step Three: Fold one short end of the ribbon about 1/2 inches, and roll that same end several turns to form the center of the rose. With needle and thread, take a few stitches at the non-wire side of the roll to hold the center of the flower together.

Step Four: Anchor your thread with a couple of tiny stitches. Don't cut the thread. Stitch a running stitch down the entire length of the ribbon...on the side without the wire.

Step Five: Pull the thread to gather up the rose. It will naturally start to curl and twist because of the side with the wire still intact. Fold the end of the ribbon and stitch across it. Take a few small stitches to hold the gathers in place. You can now trim your thread.

When you hold it by the end, it will look a bit like a loose Slinky style spring.

Step Six: This step is a little tricky. Hold on to the center of the rose (the rolls) and wrap the gathered part around and around the center. Don't let go of it...When you have wrapped the rose "petals" to your liking (loose or tight is a personal preference). Take a few stitches on the under-side to hold all of it into place temporarily.

Step Seven: Determine if you want any leaves around your blossum. Ribbon,velvet, or lace ones are good candidates.


Step Eight: Using a small piece of foundation fabric...(I used a square of needlepoint canvas because it is coarse and will hold it's shape) place the flower and leaves on the fabric and stitch them in place. Hide your stitches within the gathers on the flower, and under it's petals for the leaves. The canvas size is about 2 inches square to begin with. This photo shows it leaning against the flower...not stitched.

Step Nine: After stitching, trim the foundation fabric close to the stitching...so as to remove the excess.

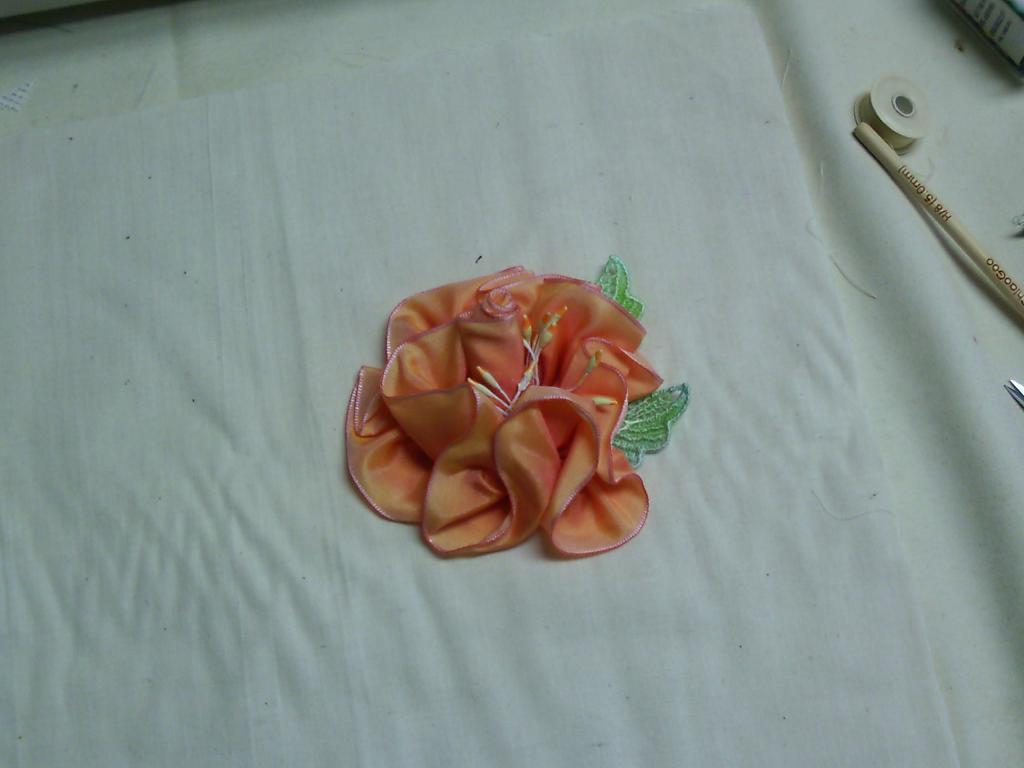
Step Ten: (Optional) Add artificial flower stamens by folding them and inserting them around the center fold and stitching in place. Or, include them around the center fold before you start to wrap your gathered petals around the center.

Also: Tiny flowers can be created by using about 2 ft of ribbon. Fold both ends to hide the raw edges. Stitch a running stitch down the center and gather.


No comments:
Post a Comment