Friday, October 21, 2022

Quilt Repair Underway

 A lady in our area asked me to repair a quilt made by her Grandmother/Mother. Thought the approach might be helpful to others so, here is what's happening to the quilt.


Several seams are partially, needing repair. These I mark with safety pins during my inspection of the quilt (so I can find them later). They are closed using the Applique Stitch (Ladder Stitch).


Some patches have already practically disappeared, so these have to be completely removed.


New patches are appliqued into place. The old batting has been removed since it is just crumbling or already missing under the older torn patches.


 A thin batting is cut the size and shape of the needed patch, then surrounded with fabric. This new patch/batting combo is then appliqued into place. I sew only through the top layer of the quilt.


I've selected a variety of smaller prints with lower color density to match the look of the quilt. When the patches are finished I'll hand quilt these areas to complete the task.

Sunday, October 16, 2022

Catching Up - Mid October

 Good morning! Hope everyone is doing great and enjoying these slightly cooler days. It will be time to drag those coats out before we know it. I've been busy as usual, and thought I'd catch my readers up on what's going on. First off, I'm trying to get a few small classes going one-on-one at the local artist shop in Jacksonville, Alabama...and her is my first student. Linda is learning how to embroider and she did a great job of her first project.

My granddaughter is almost 3 years old now (doesn't she look just like her Mom with that unruly red hair!). She is pure sunshine! A few hours of play, and Nana is just worn out. :)

I'm still trudging along on my Snowflake hexagon (English Paper Piecing) quilt.


Each night I sit with this basket in my lap and create hexagons then stitch a few together. The snowflakes are done; now I'm working on the portions for the outside edge.

Each hexagon is fabric surrounding a fabric shape; the folds are tacked into place with needle and thread. When sections are sewn into the quilt top...the paper is "popped out" of each piece EXCEPT the outer edge hexies. These are kept stiff with the paper until the quilt is ready to complete.

This is my tredle sewing machine; she's a beauty. 

She is missing the tredle casing and lower plate; so I'm on the hunt to fine these. No luck on Etsy or Ebay but am still looking. 

Lastly, the latest book is coming along...at the publishers and expecting a release date after the first of the year. Seems that this one is taking way longer to pull together than before, but expect the publisher is having staffing problems or something.


Friday, October 7, 2022

Easy & Quick Design Boards

 Okay, before we get into the EASY part...let me show you the not so easy and not so quick part. Went to the DollarTree yesterday and came home with 10 foam core boards. Cut them into various square sizes last night. Got up this morning and put some black flannel on them (with clear Elmer glue)...all was going so well.

Then, took some 2.5" jelly roll strips (from DollarTree) to cover the edges after watching too YouTube videos that gave me the idea in the first place. Basically, one used a glue gun and the other used Ultra Heat'n'Bond to hold the fabrics down along the edges.


Worked on four large (18" size) boards first...this is the only corner that is really neat and the miter doesn't come close to matching.


This is what most of the corners look like. I tried adding some glue underneath that fold, but even that just was not looking great.


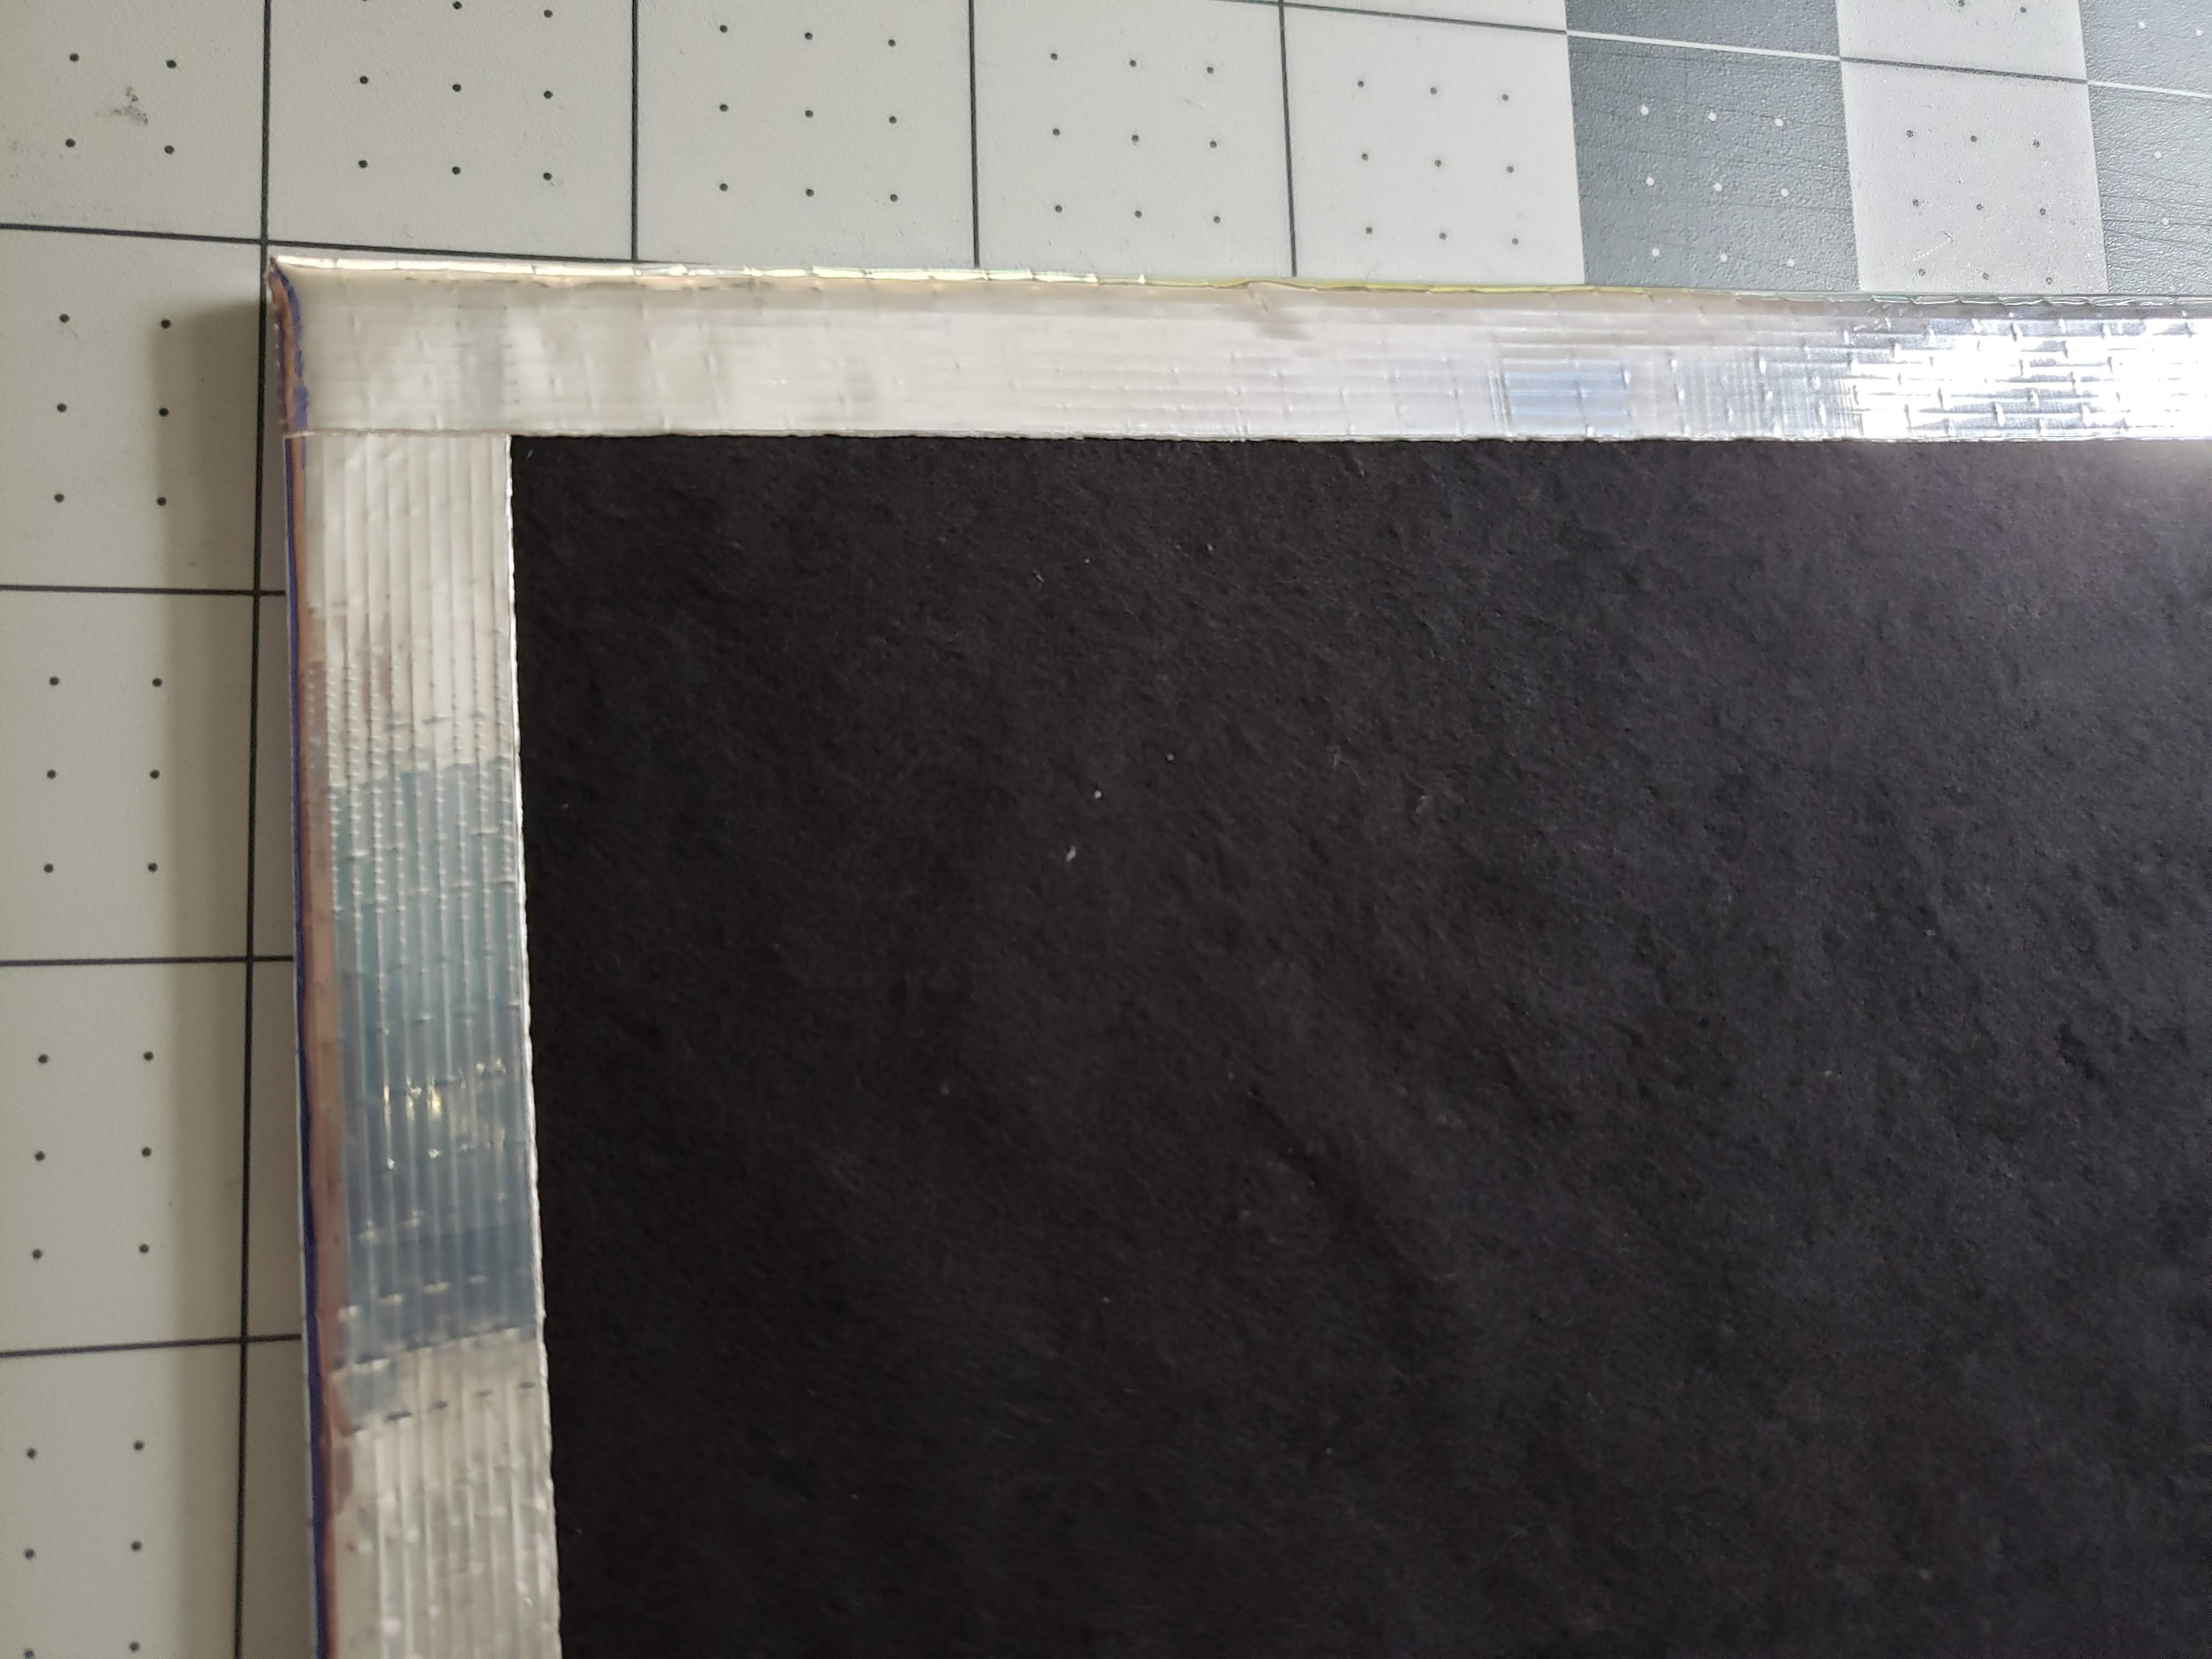
So, changed my plan...and here is the resulting corner for the stack of 8-inch boards. My secret?


And I'm proud of it! The results are great...and even though the only colors I have are chrome, gray, white and black on hand...there are others if you wnt to get really creative. Here is how I apply my edges:


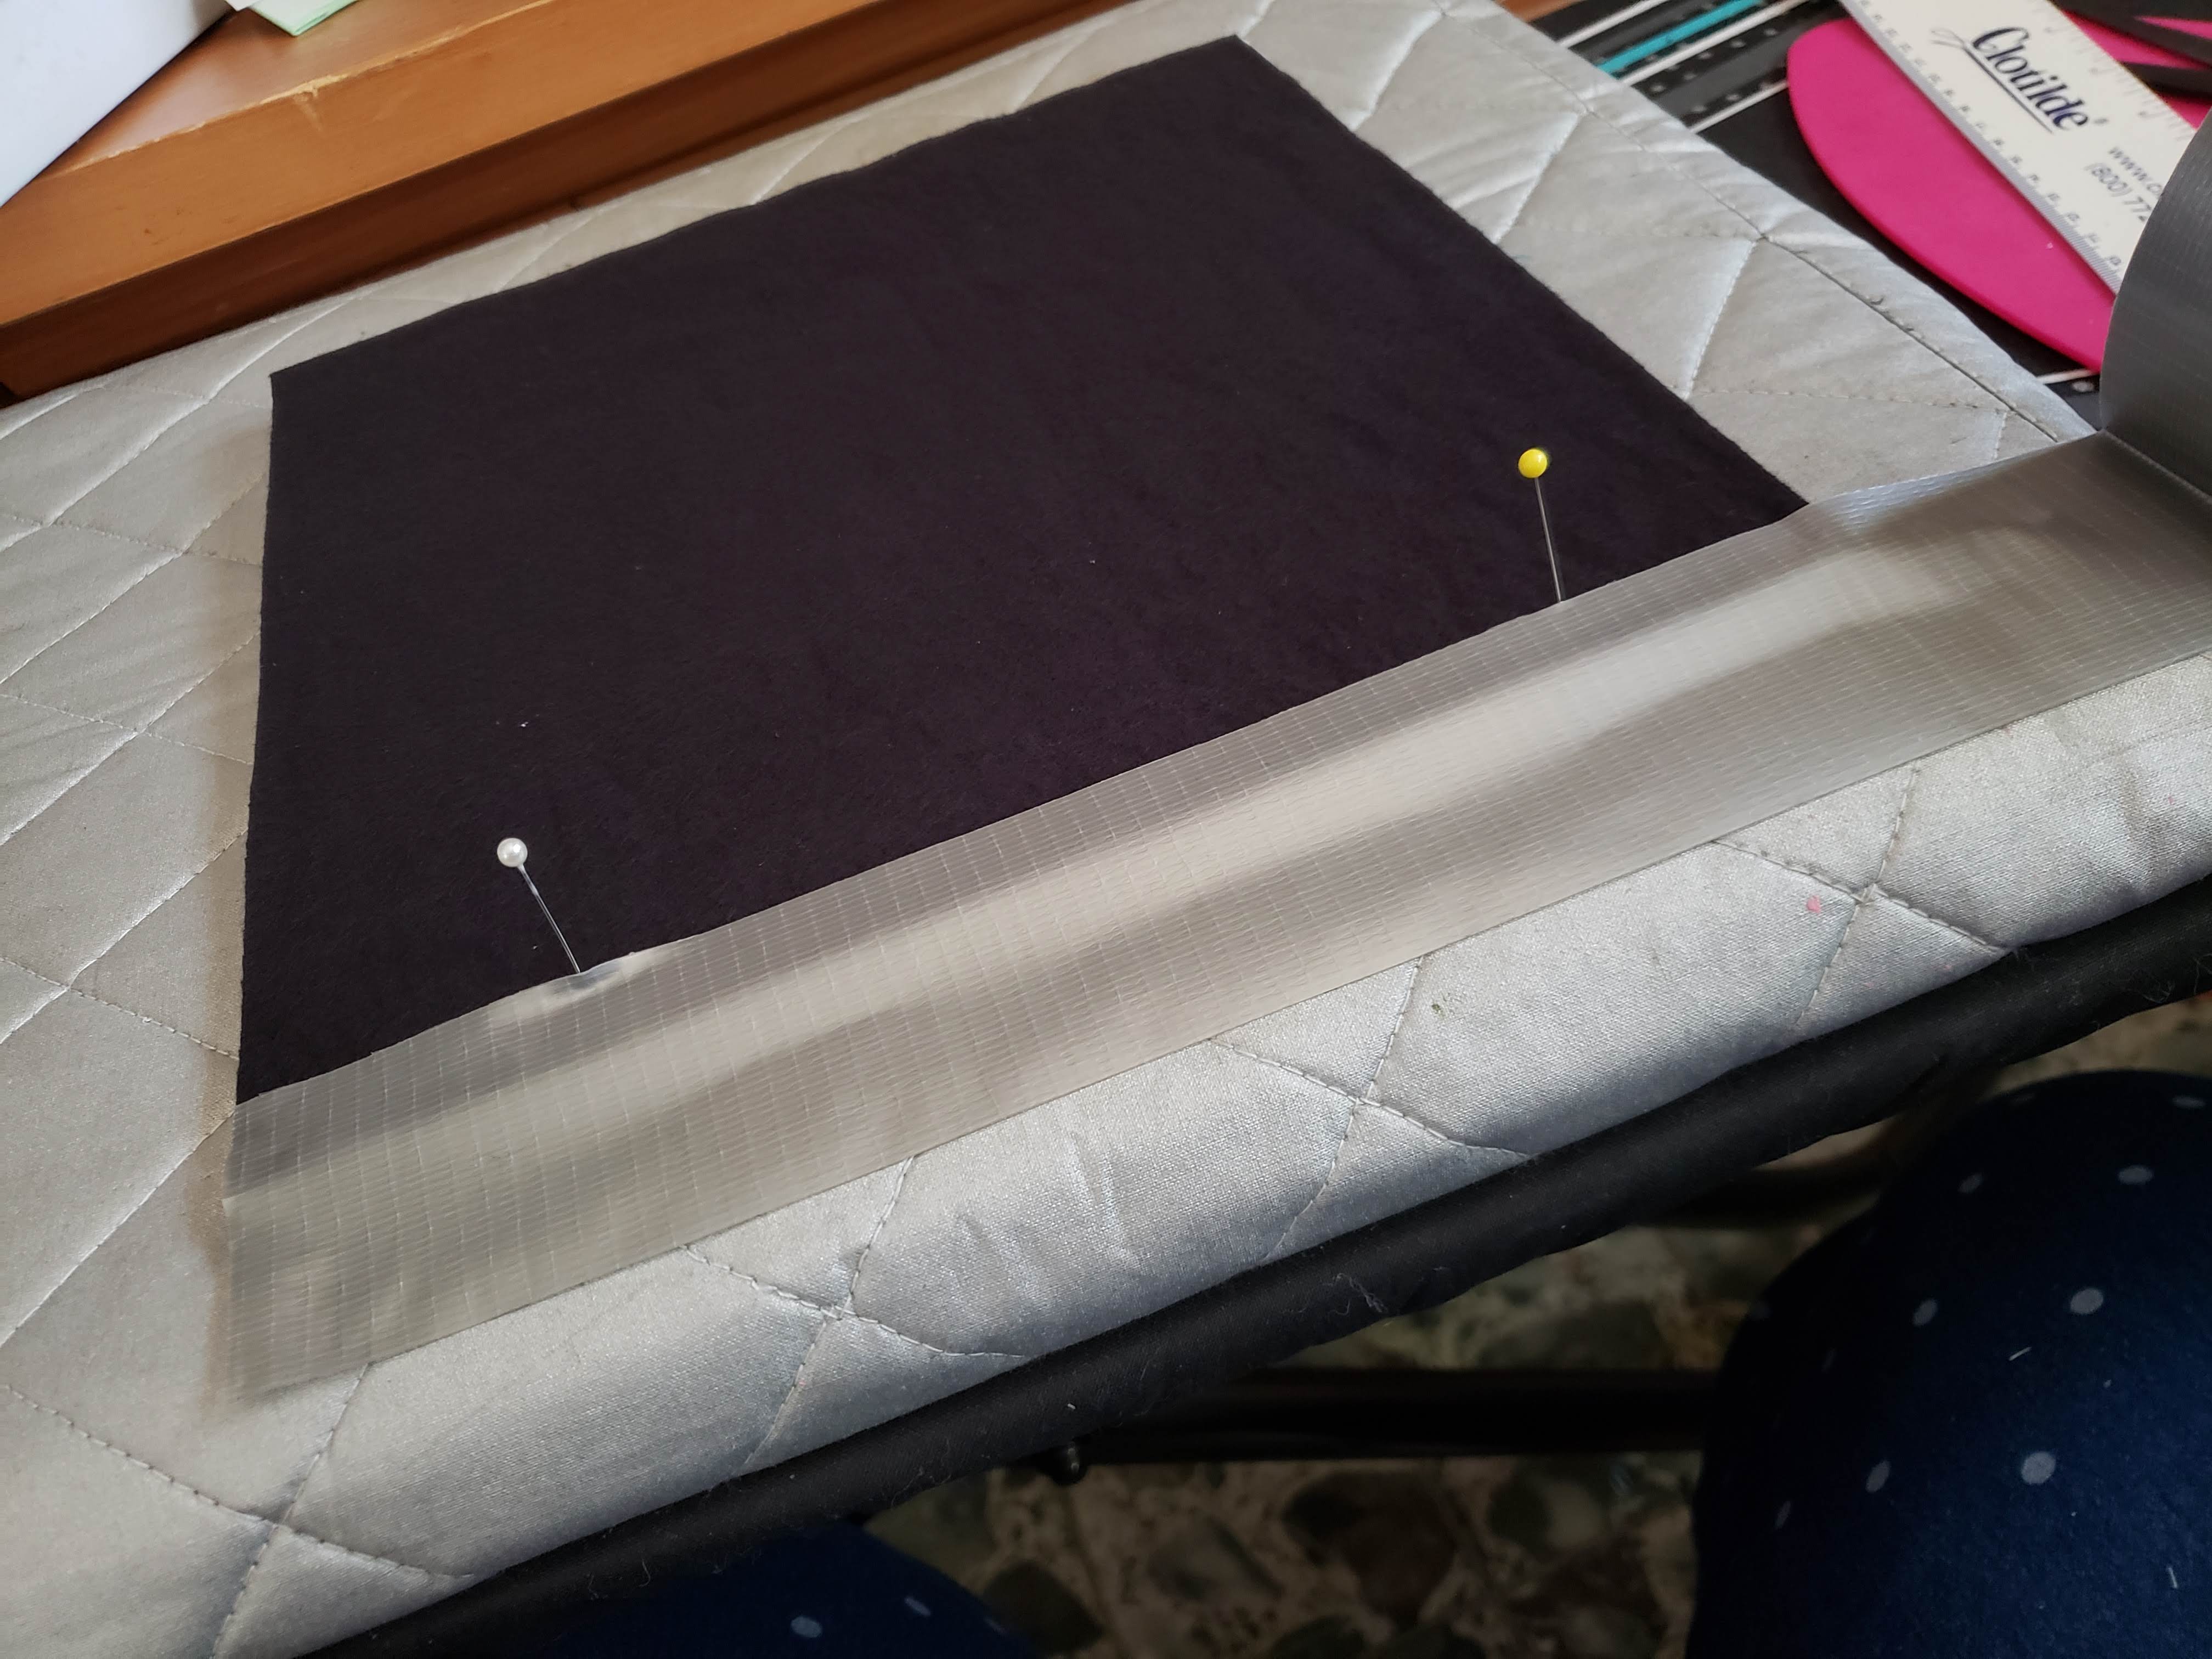
At this stage, the black felt is glued to the board. This was easy...just a willy-nilly back and forth stream with attention along the edges too. I have a ruler and measure the first side at 1/2 inch from the bottom...and put a pin there. Repeat for the other side.

The tape is aligned with the left edge and just nests against both pins...so is about 1/2 " showning on the front.

Then, I wrap the tape around the edge and flatten it out on the back (which is pink in these boards). There is about 1 1/4" of tape on the back side.

Here is what the front side looks like with the one side finished.

And, here's what the finished design board looks like. I have dozens more to finish up...but these are easy and pretty cheap to create. Also, I'm not using up jelly rolls for craft projects...when I'd rather have my fabric for quilts.